
From idea to reality
It all started in 2024, after the birth of my first child.
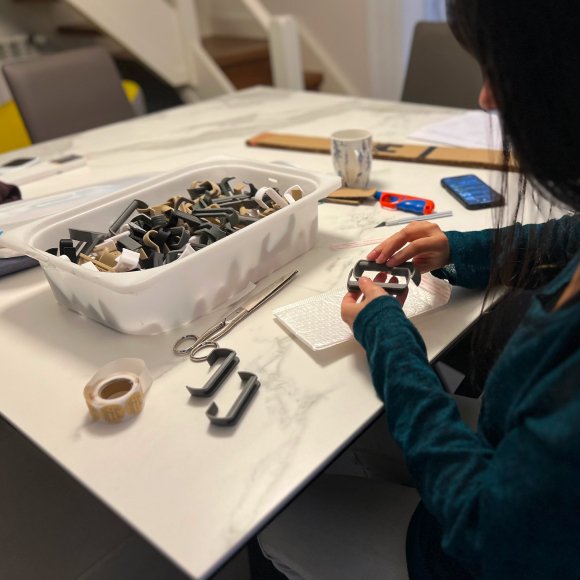
I was looking for something practical to organize her things and came across a viral video on Instagram that showed a hack from Ikea: 3D adapters for the Stokke Tripp Trapp highchair that allowed for the incorporation of a Trofast box. Although I downloaded a 3D model from the Internet, it was not what I was looking for. So I decided to create my own design from scratch, improving it with dedication and a lot of trial and error.
What started as a solution for my home soon became a business idea when I discovered that more people had the same need. This is how my store was born, where each product reflects not only creativity, but also the desire to make life simpler and more organized for other families like mine.
How I carry out my projects
3D printing allows us to transform ideas into real products that are useful and adapted to the needs of each individual.
To carry out my creations, I use the following 3 stages
01.
Shaping the idea
It all starts with a need. When I detect something that can make everyday life easier or a client asks me for something, I design a sketch with precise measurements to give shape to the idea.
02.
From idea to prototype
Using 3D design software, I create a first prototype. If it is a 100% customized product, I validate that the customer likes it and finally I pass it to the laminator to print it.
03.
From prototype to product
Depending on the type of product, it is difficult to get it perfect the first time; I iterate with various adjustments and impressions until I reach the ideal design. Subsequently, if necessary, I perform strength tests to ensure that the material and filler patterns are fit for purpose. Finally, after a photo shoot to capture its essence, the product is ready to be delivered or placed in the store.
Some of my work


